However, Michael's recent work in progress post seemed to peak some interest, and so rather than post nothing I'm uploading some of my own photographs of the build in the hope they provide some inspiration and insight to how we're getting on.
The basic structures are all built-up from laser cut modules, all 3d modelled in advance to ensure they'd all fit as we hoped. This has been a time consuming process and probably the reason for our overall progress looking a little slow at this point. However, we are accelerating now and I think this time has been well spent, as it has allowed us to scale down and adjust the plan to fit the board without compromising the feel of the overall scene. I'm hopeful that when finished, the model photographs will compare well with the original.

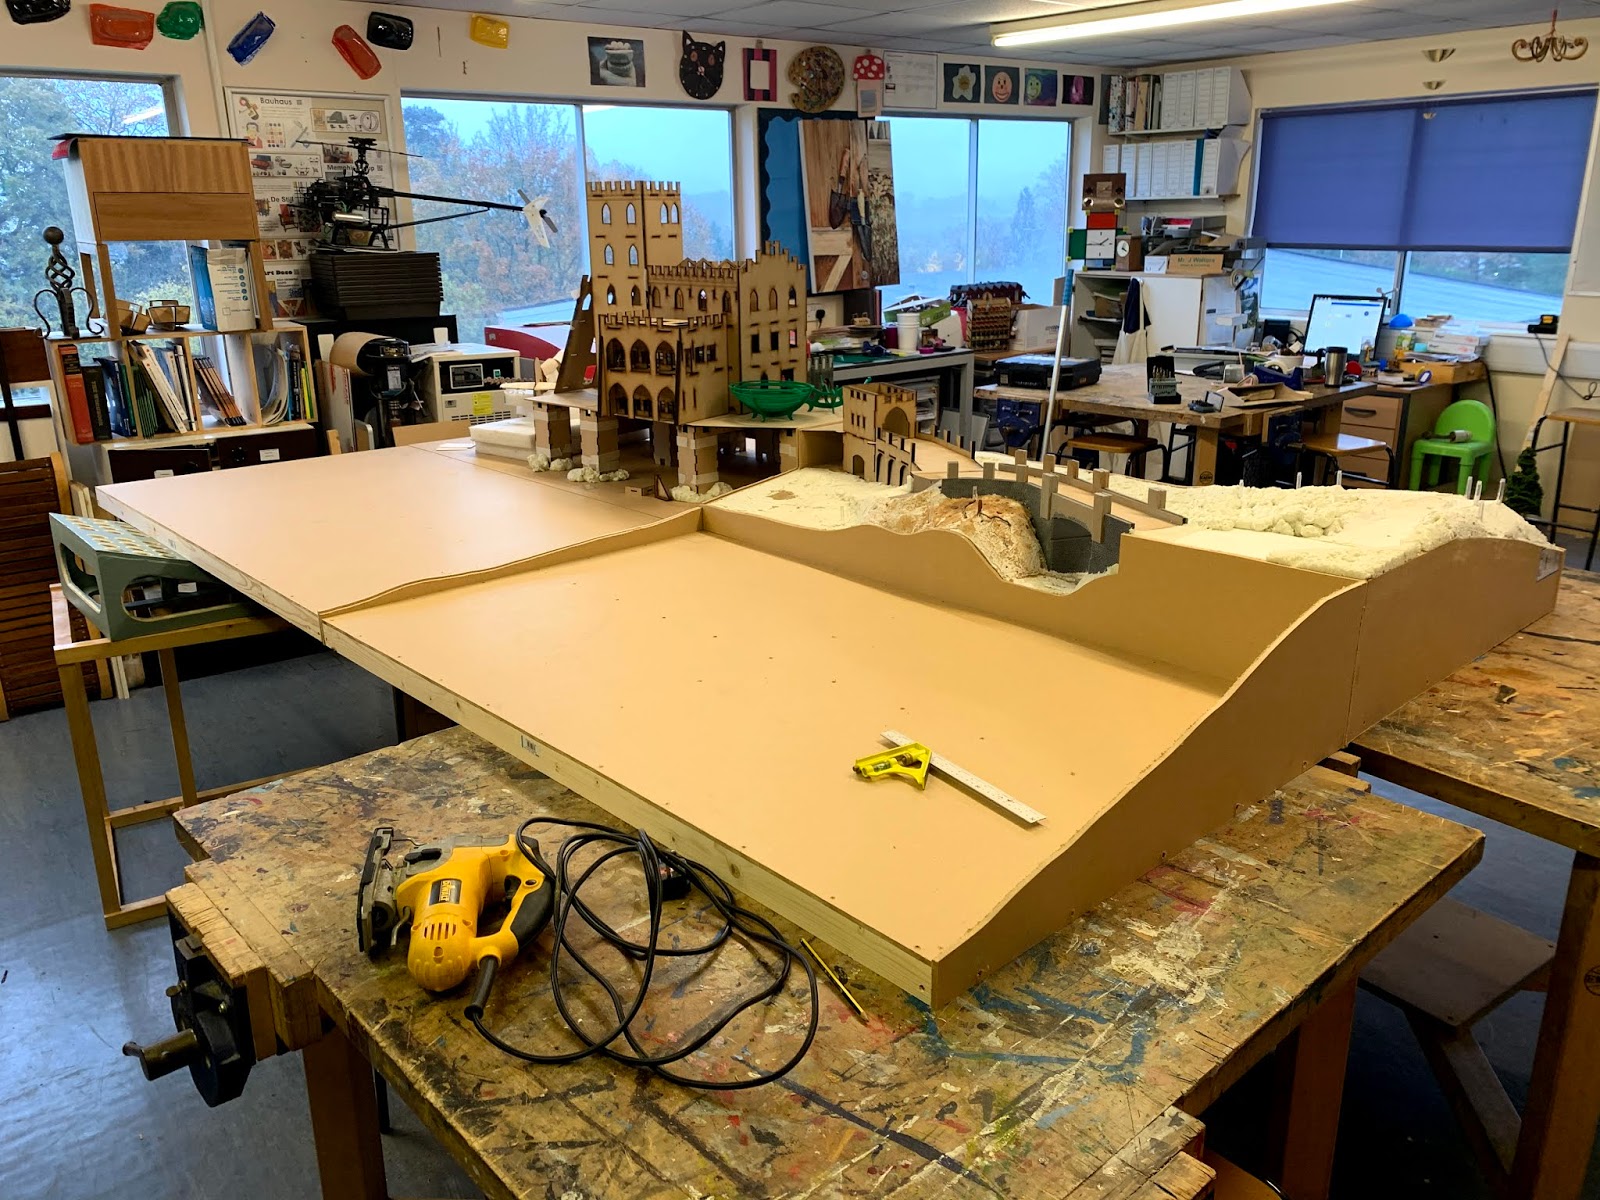
The picture below is one of my favourites. The landscaped board looks tiny when in fact its huge on its own! My word, what were we thinking!!


This picture shows the principle of laser cutting a 'live hinge' to allow the material to flex. In this case the serrations were cut radially to allow the ramp to follow a curve.

The same technique is employed here to create a curved retaining wall.

A bit of filler to texture and the effect is worth the effort.


The sides of the bridge were clad with foam...


So that the stone detail work could be scribed on. The chipped rendering to the top of the bridge is just playground sand PVA'd into place.


Shaped profile boards provide a robust edge to each base board.

Expanding polyurethane foam from a can has been used to create the basis for the landscaping. A very quick, lightweight and strong method which I can heartily recommend. I'd advise using gun grade material, which requires an applicator gun. The cost of the gun being worthwhile for the benefit of a more controlled application.


Here the RFC pilots and Major John Howard are testing the integrity of the embankment!


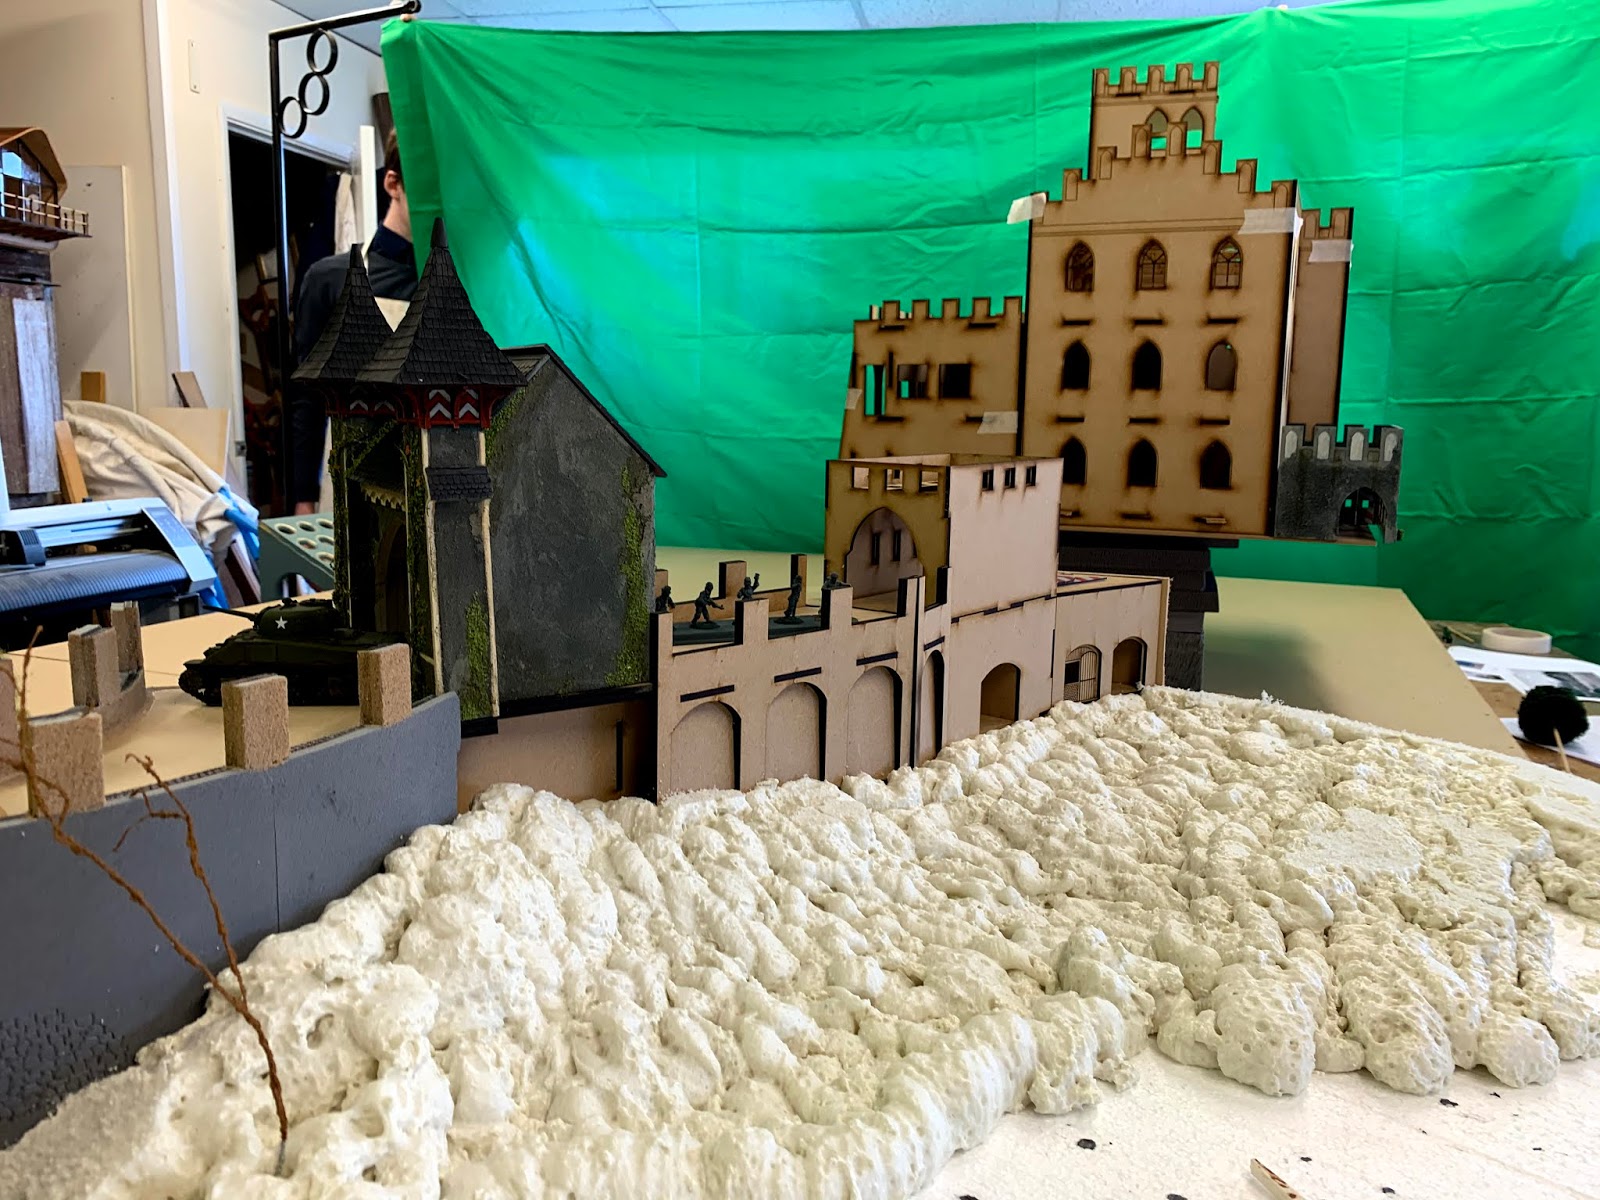
And the perimeter walls added to the base. Like the bridge structure, these will also be covered with foam which will be scribed to represent rough stone.


Whilst the castle board progressed, Michael used a mixture of decorators caulk, tile grout, bark and stone to texture the bridge board. It is quite hard to judge the progress in this photo but he has been doing some sterling work in bringing the board to life.


Here, the RFC pilots are crossing the bridge in search of their Vickers Vernon!

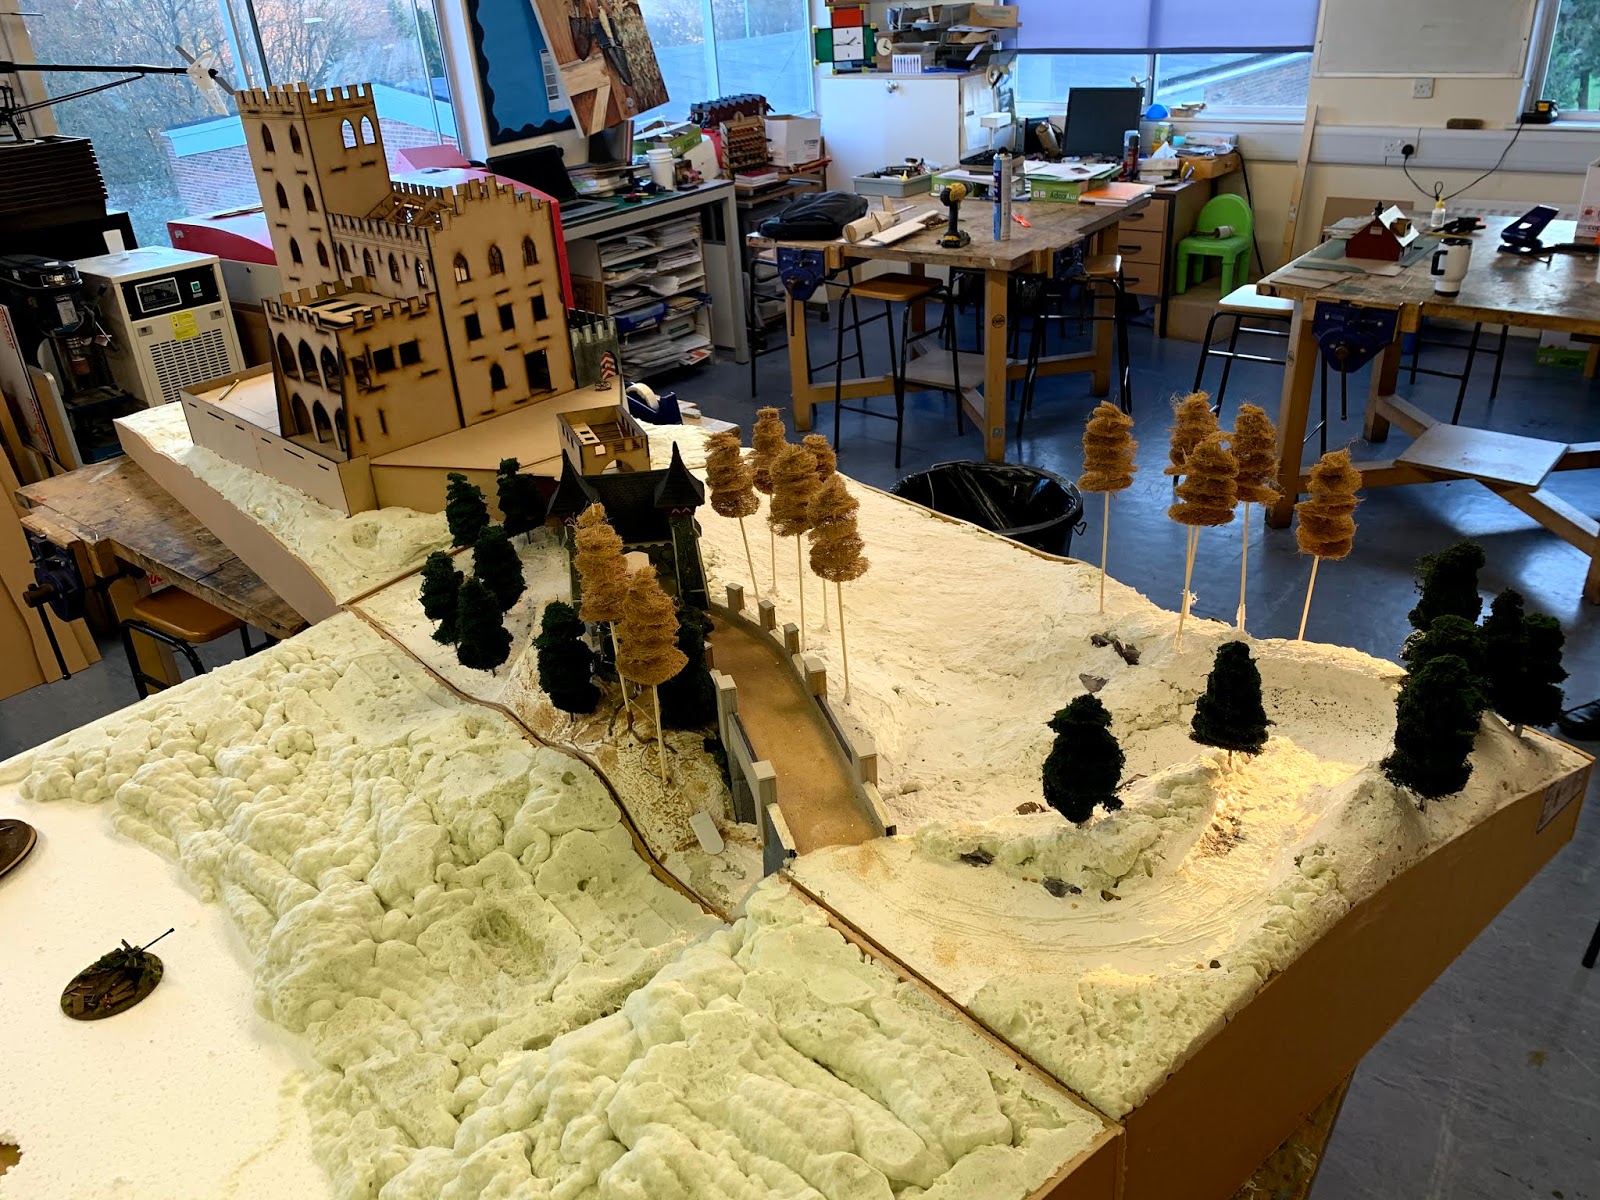
Michael is becoming a dab-hand at tree manufacture!


The castle interior. The rooms will all be furnished and have detailed wall panelling. Just visible on the third floor are pieces built by a pupil of ours who has taken on the task of designing the armoury. These will hold rifles, machine guns and ammunition. He has also kindly contributed a scratch-built grand piano for the music room, but more of that at a later date.

The third board is being landscaped too. Same techniques as before.

Well done if you've scrolled down this far!!
These pictures are a little behind the curve time-wise. I'll leave the joy of the latest progress to the most excellent 28mmvictorianwarfare.

Finally, I shall leave this post here with the photograph above, being a little hint towards a most wonderful development in our projects' progress. We will definitely post all about it once we've decided how to do it justice.
Until then, I think this figure (currently in primer), may well prove to be one of Michael's most satisfying painting jobs to date.
James
Wow! Have we really done all that? Still got another four days to go... :D
ReplyDeleteThe funny thing is that I really cannot anticipate what we'll have acomplished by the end of the week. Probably silly distractions we haven't even thought of yet!!
DeletePhenomenal work, both of you!
ReplyDeleteThank you AJ. It's been an uphill struggle at times, but all is looking really good at the moment - exciting even. :)
DeletePhenomenal work, from you both James, and great to hear you've inspired at least one of your pupils
ReplyDelete