Once the dust had settled with the construction of the Fiesler Storch, I was hankering to build another aircraft. With 2020 signalling the 80th Anniversary of the Battle of Britain, why not opt for one of the most iconic fighter aircraft of all time.
No, not the Spitfire (although that's coming soon), but the Hawker Hurricane.

Source: e5096225842a61c500ae870958836fa7.jpg
As usual, I began my model with an internet search to find a decent set of plans to work from. Once found, I drew up the profile of the air frame and slotted it to receive frames running from front to back which would define the cross-section at various points along the body of the aircraft. I am probably using the wrong terms to describe these parts, however the drawing below shows the kit of parts I came up with.

Once drawn-up, the parts were exported into Solidworks to check their fit, and to establish whether or not I was on the right lines.


At this stage, although I had the wings drawn, I was undecided as to quite how I might build them so I will save detailing them until a little later.
Happy that for a first prototype the lines were looking fair, I laser-cut the pieces and glued them up with CA glue.
Balsa blocks were glued on to fill the gaps between the frames and were sanded to match the frame profiles. I find this approach enables me to sand down to the laser cut frames, and, as the burned edges of the layered pieces start to clean-up I know I've reached the target shape. It really doesn't take very long to go from the computer to something as in the photos below.
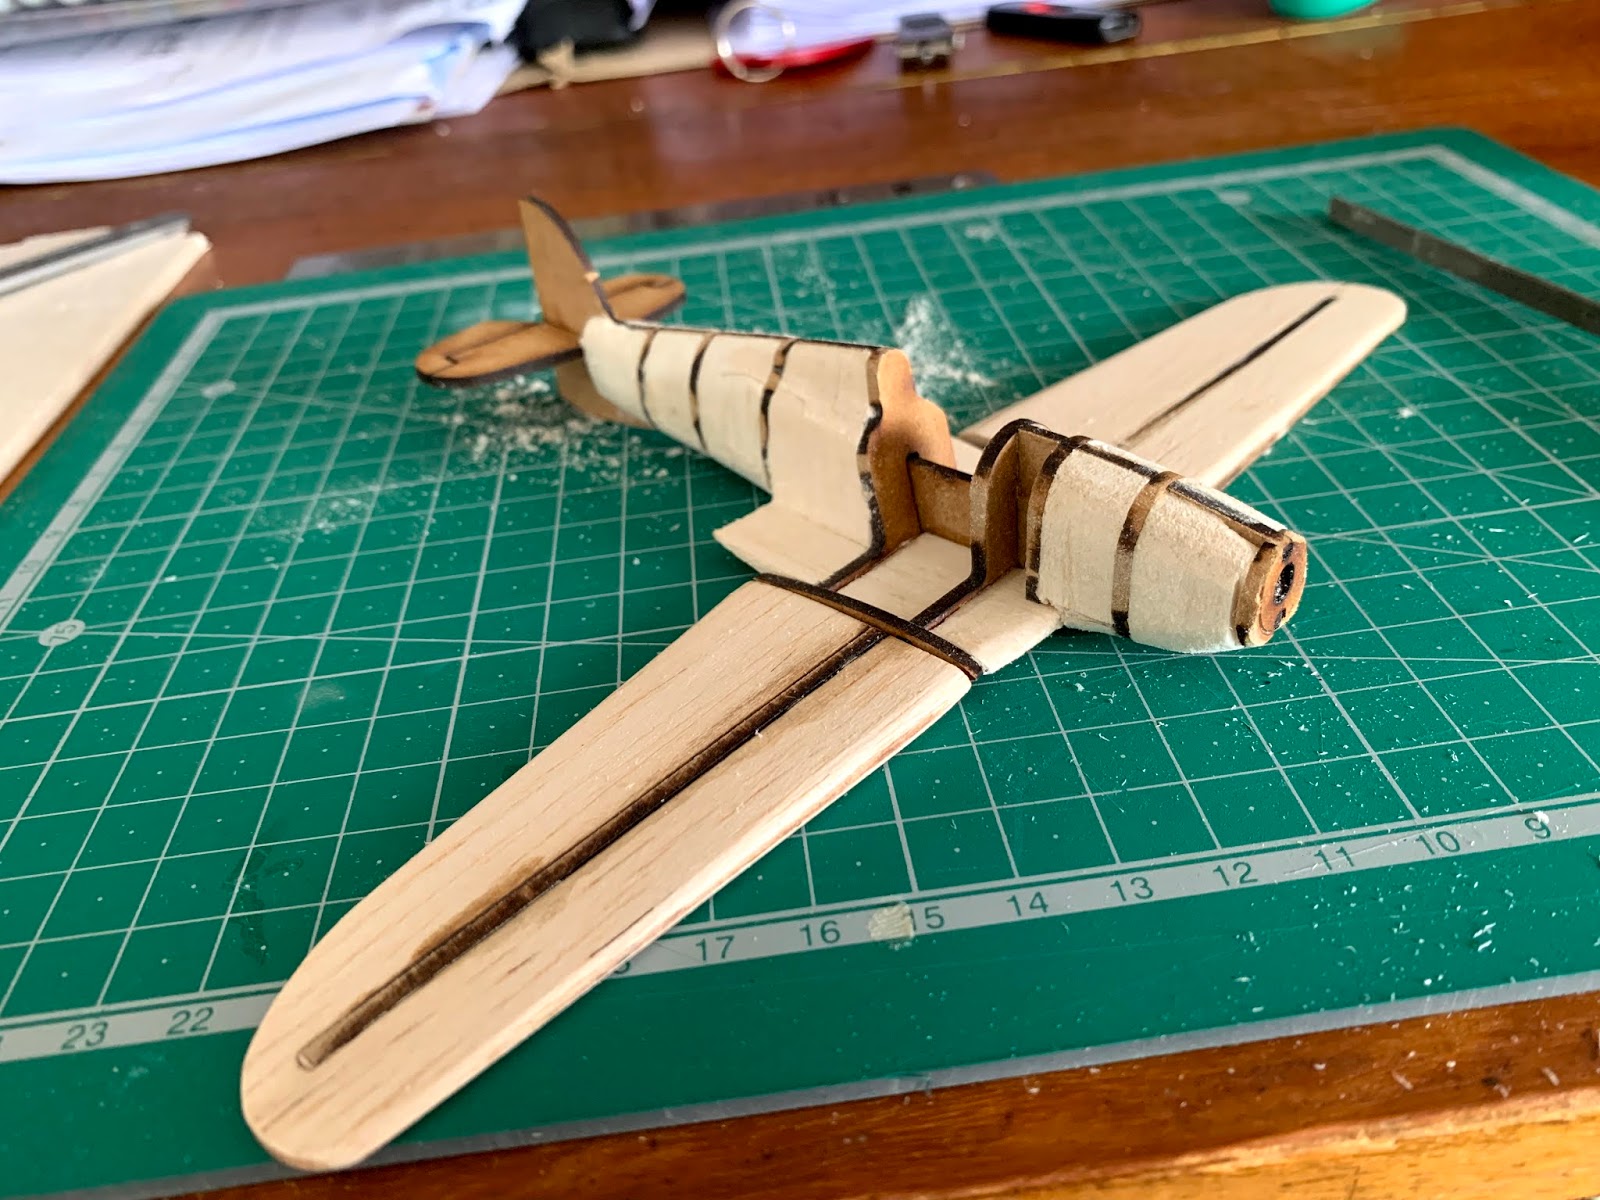


Clearly, there is still much more to do, including profiling the wing roots and the canopy. However, I am pleased to have progressed thus far and am considering preparing this model for resin casting, although this process is alien to me, and I will need to read-up on it first.
Until Part 2,
Thanks for stopping by.
James